As an Amazon Associate we earn from qualifying purchases.
A thorough guide on studio equipment, and everything you need to know about setting up your studio.
Table of Contents
Introduction: Setting Up!
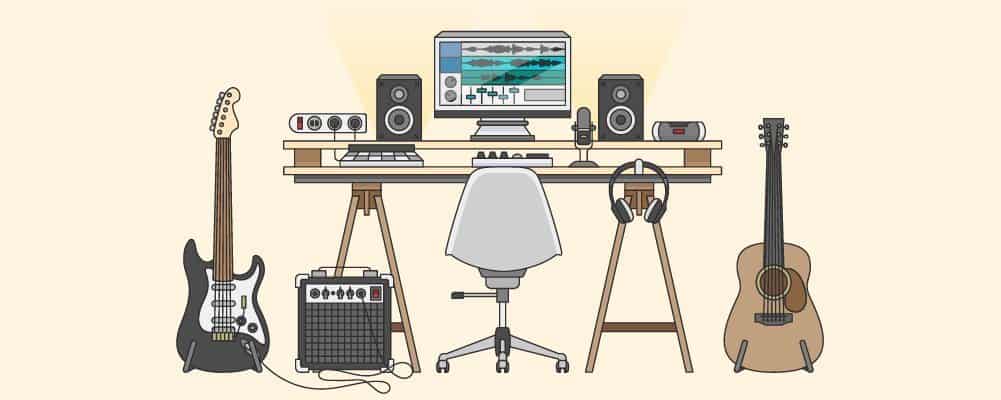
Setting up a home studio can be daunting if you’re unsure of what you’re doing. You don’t just need to know which equipment to get and how it all works, you also need to know how to arrange that equipment in the studio space, which needs to be prepped to guarantee the best sound quality. That’s a lot to consider, so we’ve created this guide to help people just like you.
In this complete guide to setting up a home studio that works and works well, we’ll cover why you should think about getting one, what equipment you’ll need, how to maintain your studio once it’s set up, and a deeper dive into individual gadgets you’ll want.
The Pros & Cons Of A Home Studio
You’re here already, so we know you’re interested in getting a home studio but check out some of the pros and cons below just in case there’s a point or two that you hadn’t yet considered.
The Pros
Save Time And Money
Having a recording studio set up at your own home is affords you a great amount of convenience. Now, when you need to use a studio to do something, you have it in on the premises and don’t need to journey to the closest sound engineer to use theirs.
Unless that engineer is your friend, you would usually have to pay for the pleasure too. This isn’t a problem when you’re using your own home studio for free – you’re not charging or even overcharging yourself after all – so you don’t just save time but also money in the long run.
You Can Make More Money
Speaking of cash, the chances are that if you’re seeking a home studio then you’re going to get a lot of use out of it, so what can you do with one of these studios?
You can work on your own music and sound pieces, of course, and these are monetizable provided you can get your work out there for people to appreciate. A more guaranteed form of income when you have a home studio is to be somebody else’s sound engineer.
Whether you work with musicians you know or not, you can price your studio competitively compared to local professionals and get some business that way.
If you’re serious about renting out the studio, you can build a clientele and a name for yourself as a studio owner, guaranteeing repeat business for musicians and sound creators in the local area.
You Have All The Control
By getting your own home studio instead of using somebody else’s, or a professional one, then you’re taking back all the control over your creative process.
If you’re a musician who learns how to operate a home studio, you can now fulfill every part of the process without having to rely on external factors to get the job done. This allows you to complete your work on your own time and unrestrained by other people’s judgments.
We’d say this is great for aspiring musicians who need more on their side when looking for that big break.
Instead of paying sound engineers to get your work mixed and formatted, you can do this yourself and bring your music to life in just the way you imagined in your head, which is ideal for subverting industry restrictions and creating your own unique sound.
The Cons
Initial Investment
While you may save money and time in the long run, this comes after the significant up-front investment into your studio space. You’ll need quite a lot of capital to invest in the gear you need.
That isn’t to say you can’t build a studio for relatively cheap but you still must be ready to spend time and money building out the studio before you can reap the long-term benefits of having one.
If capital is an issue, you don’t need to dump massive sums of cash into the studio when making it. Pace yourself, add savings to a pot and take free time opportunities to put the work in, then you can start saving those investments back when the home studio is complete.
Steep Learning Curve
You also need to know what you’re doing. That might be obvious but you’d be surprised at how many people get in over their heads when the prospect of saving money is involved.
It’ll ultimately be more expensive to try building a home studio and failing for lack of knowledge than successfully investing in one, so use the cash and time investments as incentives to learn what you’re doing and create a great home studio fit for you.
If you’re doing the entire thing by yourself, you’ll need some basic DIY and construction knowledge and experience, familiarity with computers, microphones, sound recording equipment, and soundproofing, as well as familiarity with any software your tech will be running.
Any errors are yours and yours alone, so you need to know how to troubleshoot for your setup too.
Maintenance Of Equipment
As you or your clients use your home studio, you’ll start to notice that devices in the area might end up damaged. Whether it’s an instrument, a microphone, or even just some foam paneling on the wall, things have a way of breaking down with time.
It’s your responsibility to fix these things, not anybody else’s. You can pay for work done in special cases but otherwise, it’s a great idea to know how to maintain the equipment you keep in the studio, maximizing profit since you can do everything yourself for free.
Gear Checklist: What Will You Need For It

So now that you’re more informed on owning a home studio and what it entails, you need to decide whether to get one. If you’re going to press on, you’ll want to know which equipment you need.
It can be frustrating, not to mention time-consuming, to get halfway through your studio build only to discover that you forgot some vital equipment.
The gear checklist in this section of our guide will tackle the essential items you’ll need to make sure you can complete your home studio and complete it to a high standard.
1. A Desktop Computer Setup
Pretty much any modern home studio is going to take the form of a digital audio workstation, meaning that you’re going to need a computer.
The computer should be able to process great amounts of information, so don’t worry too much about graphics and go for higher-end CPUs and storage that lie comfortably in your budget.
Many already have a computer in the home, so only an upgrade and a relocation may be what you need. Otherwise, you’ll have to build a new computer to act as the hub for all your home studio activities.
Buy an ergonomic mouse and keyboard to use if you haven’t got them already and decide whether you can work off one monitor.
These will all have to be arranged on a desk that’s both large enough to accommodate your computer while small and comfortable enough to work at for extended periods, for which you might want to invest in a good office-style chair too.
2. Audio Interface Software
Getting the physical computer and a functional OS to go in it isn’t enough, you’ll need software that records, manages, and mixes your sound by connecting your computer to the sound-recording devices you use.
You may already have a favorite audio interface software that you’ve used in the past, in which case sticking with the familiar option may be a good choice.
If you’re on a budget, you’ll need to decide whether you use free or paid software. Needless to say, you get more advanced and professional features out of software that you pay for than not, so you may want to factor in this software as part of your initial studio investment.
3. Microphones & Headphones
You probably already have these on your list since they’re the main sound-capturing and sound-replaying devices that you’ll use when in the studio. Microphones are used to record the sounds of vocals and instruments that get played inside the studio.
A high-quality microphone is directly correlative to better sound quality, so you’re going to want a good, more expensive microphone model to ensure that you capture the sounds you desire.
Get a stand, since everybody sings best when they’re standing. A bonus would be a pop filter so that your plosive sounds don’t cause a distracting pop when you make them.
After you’ve recorded your session and the time comes to listen to what you’ve made, you’ll want to imitate the industry’s best by using closed-back headphones.
These noise-isolating models will ensure you only hear the music you’ve made, allowing you to make executive decisions on what you want to keep or change as you tinker with it in your audio software.
With microphones, headphones, and some of the gear below, you’re going to be wrestling with many cables too.
For microphones, make sure you have an XLR cable so that the microphone can work with the audio software. Ensure that you have the other display and power cables for the computer too.
4. Acoustic Treatment
The home studio space itself needs to have the right sound qualities to record sound properly. You don’t want to end up with tinny or dull sound because the room you’re in has too much or too little acoustic support.
The most important parts of acoustic treatment are the acoustic panels that you’ll find on the walls of any recording studio worth your time. These absorb musical frequencies in the lower-mid to high range.
If your music or sound creation involves the use of bass and lower frequencies, then you’ll want to set up some bass traps too. Though unlikely for home studios, which are invariably smaller than professional spaces, it’s a possibility that you’re fortunate enough to have a larger working space.
In that case, we’d suggest getting a sound diffuser panel to scatter sound across the room. Isolation shields are also a great alternative for smaller spaces that work by the same principle.
5. Electronic Peripherals
Along with all the above, you’ll want to have as versatile a home studio as possible, and that usually involves investing in some of the following pieces of equipment. Consider getting rack stands and power conditioners to further expand how many tracks you can record at once.
The conditioners work by keeping cables neat and regulating the voltage that’s passing through all of them, so they’re almost a must if you struggle with power surges.
If you want to add extra input and output channels for your microphones and headphones respectively, then check out the preamps you can get for each. A digital converter to ensure that sounds from physical instruments are properly converted to digital is also important.
6. Digital Instruments
Depending on the type of music you’re making, you can use digital instruments on your computer to create sound. You’ll have to decide whether you want to use analog or digital instruments first but, once you’ve made your decision, you’re free to go.
The foremost of these would be a MIDI controller for playing but you can use a mouse and keyboard if you desire. From there, you can find both paid and free virtual instruments, including even drums, available online.
What To Consider When Choosing Your Equipment
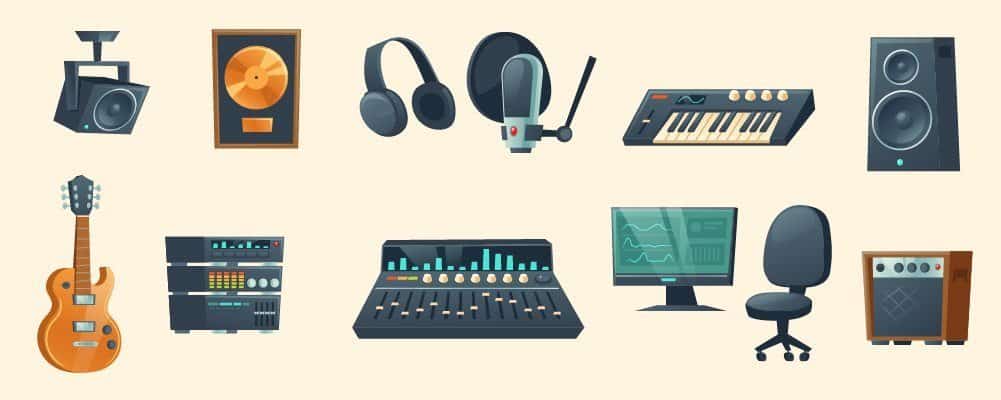
As you may have noticed in the above section, the exact setup and layout of your home studio will depend on the kind of sound you want to create.
People get home studios installed for a myriad of reasons, the most popular being music creation, voice acting, or simply to rent out the place and gain an alternate source of income, at which point the studio is used for whatever the client wants. Let’s break each of these down.
First, with music creation, you should have an idea early on if you’re going to be working with analog instruments. Analog instruments require a significant time investment to learn, so only you know which instruments you, or somebody you know, can play.
In those cases, you’ll want to do your due diligence and find out which gear you need to accommodate the instruments you and/or your band are using.
It’s also a good idea to know what frequencies your instruments create, as a mix of high and low frequencies will require different kinds of acoustic padding in your home studio.
The alternative to analog instruments is digital ones. These are mostly software programs that you can use to artificially recreate the sound, which is controlled through the mouse and keyboard or through specialist instruments like MIDI controllers and other multi-pads.
The barrier to entry here isn’t as high, as you can imagine, since you only need access to the software and the ability to learn with your preferred control method.
If you’re going to rent out space to local musicians and performances for them to record there, you don’t know what requirements each client has yet. In that case, you want to aim for versatility and stock as many helpful peripherals as you can comfortably afford.
Get rack stands and conditioners to keep the cables neat while ensuring you have every sound frequency covered in terms of acoustic padding.
With all that said, what if you’re not recording music? It’s not uncommon for voice actors to get their own home studio to do their work, and in those cases, you don’t have to worry about a lot of the gadgetry needed for music recording.
A good computer, sound editing software, microphone (with pop filter), and a comfy, soundproofed environment is usually enough for home studios geared toward voice acting.
Setting Up Your Home Studio: The Ultimate Guide
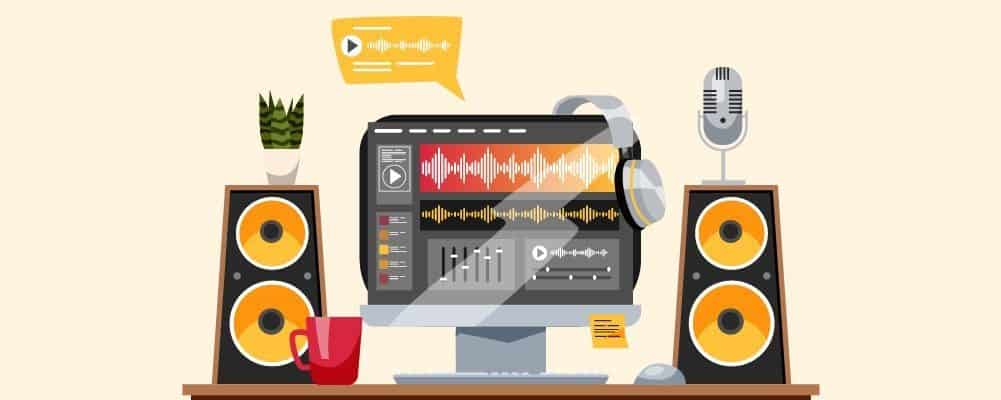
We’ve covered just about everything in terms of planning for your home studio but that doesn’t mean we can’t go deeper into the individual elements that create one.
From microphones to MIDI controllers, we’ve covered all of both essential and common pieces of equipment you’d find in a good home studio, along with some handy buying tips.
Microphones
The constant in any home studio design is a microphone. After all, how can you hope to record sound if you have nothing to pick that sound up? For any of that, you’ll need a decent microphone.
You can get ideas everywhere nowadays thanks to the internet but we’d suggest thinking of an artist or internet personality you follow whose sound quality is great.
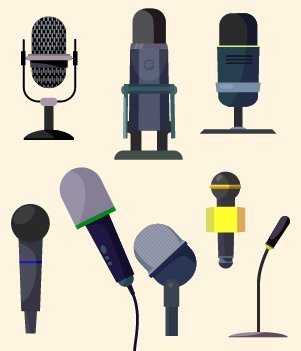
This is even better when it’s a podcast or set in a space that’s essentially a home or professional studio since that’s what you want to emulate. It shouldn’t be too hard to find out what they use, either from visible logos, an equipment list on their channel or simply by asking.
If you’re looking at a range of high-end microphones that’ll set you back, we’d advise you to test them first.
It’s possible to rent microphones for a night or two, which will still cost a few hundred dollars but saves more money than buying one outright and finding out it’s not up to the task. It’s possible that a cheaper mic will do the job anyway, so do your due diligence and shop around.
If you’re doing voice acting, a shock mount anchoring your microphone to the desk and away from any interfering vibrations should do, along with a pop filter. If you’re performing vocals for music, however, then you likely want an upright microphone stand to, well, stand behind.
Boards

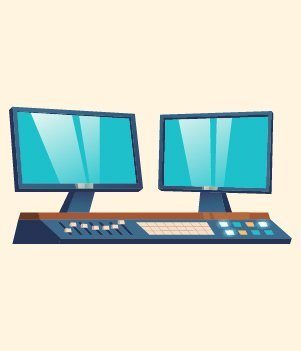
Otherwise called mixers and consoles, studio boards are a physical interface that you may have on your desk.
If your entire home studio is one large computer, then consider the board your desktop where all the available actions are laid out before you. This means that you get more use out of one of these boards if you have a very large and complex studio.
This simply isn’t the nature of many home studios, so you can get by without one, and it’s often enthusiasts or those who prefer the feel of a physical console in their hand that invest in boards.
Your computer will have programs that do much of the same, so you need to decide whether your home studio will be flashy and complex enough to justify one of these mixing consoles.
They’re easy enough to use once you’ve learned and they should connect seamlessly to your audio interface via a USB cable.
Monitors
By monitors, we’re not talking about what you may be reading this guide on. Studio monitors are large loudspeakers that emit sound at a professional grade.
If you’ve seen those massive speakers on film and TV sets, in radio shacks, and, yes, in recording studios, then you’ve seen monitors before.
Monitor speaker placement is important, so you need to have this in mind pretty early into your home studio construction process so that you have the free and empty room to work with. We can condense speaker placement tips into a few bitesize points.
- Don’t place them flush against the wall. Instead, place them the minimal distance away according to the monitor’s user manual. Don’t place them on their sides without explicit permission in the manual, too.
- Make sure they’re not equally distanced from the front and sidewalls. This deceptively amplifies lower frequencies.
- If you’re working in a large space, place the monitors along the longest wall to avoid strong reflections.
- Move your listening position away from the halfway point of the room’s length. You’ll miss bass when trying to listen from this position.
- So, what is the listening sweet spot? Make an equally distanced triangle between where your head will be and the monitors.
Soundproofing
Soundproofing is done via acoustic treatments where the material is placed, usually on or along walls in the room, to dampen problematic frequencies that may distort the sounds you’re creating.
When trying to hit a very specific sound, a lack of soundproofing material on the walls will throw you off your game and make it all the more difficult to get what you want out of a recording session.
Made of either foam or fiberglass, the most prevalent and noticeable of these solutions in the day-to-day are dimpled sound panels.
If your favorite podcast has an accompanying video feed, this is what you usually see in the background as it controls bouncing sound frequencies to make for a more stable and controllable sound setting.
You can make these panels yourself if money is an issue. Foam is obviously easier to work with since there are safety precautions that come with fiberglass. Foam affects higher frequencies which may not be suited for home studios, where lower frequencies tend to be a problem.
So, how do you soak up those lower frequencies too? Look at bass traps and absorber panels. These two variants of the standard acoustic foam are shaped towards taming lower-end frequencies instead.
Through a combination of standard panels and bass traps, you can sufficiently soundproof your home studio and create high-fidelity sounds.
Headphones
When you’re mixing and editing, you often can’t experience the sound with your bare ears, whether it’s for noise concerns or due to the layout of your studio.
So, when you are sitting at the computer, you’ll want to have a headphone that you can use to covertly listen to the music or sounds that you have made.
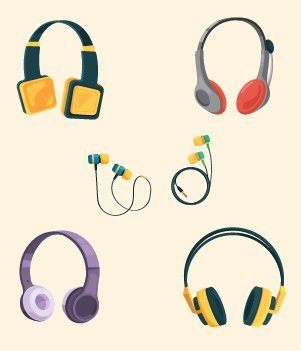
Once a session is over and your sounds have been converted and stored in a digital format, you’ll want to be able to listen to the sounds properly.
This is why recording studio headphones should be larger, noise-canceling models that envelop your ears so that you’re hearing nothing but the sounds you need to hear.
They need to be comfortable enough that you can wear them for hours while having a wide frequency response and a flat, neutral sound. That sounds like a lot to balance at once but many closed-back headphones will suffice.
Open-back headphones are a possibility too, but they’re better utilized for complicated tracks where you might need to hear outside noise to get a better sound stage arrangement in your head.
Cables
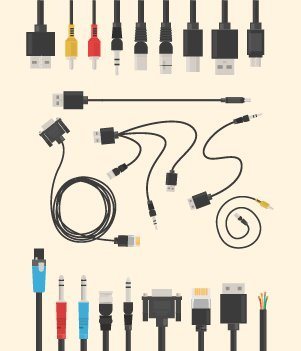
With more or less each piece of technology you bring into the home studio, you’ll need to take a cable in with them to get them to work and communicate with one another.
So, a standard computer needs a power and display cable, for however many as the displays you have.
From there, you’ll want an XLR cable, the staple electrical connector for audio professionals. You’ll use this to connect your microphone to the computer, or whatever machine you may be using to record and store the sound that passes through it.
Your studio monitors will also need a Phono cable each. These are the basic cables that every home studio needs to start producing music. That’s far from the end of this topic though, for those of you who want to do their homework.
Now with all these cables lying around, it’s easy for a home studio to become overwhelmed with crisscrossing wires. Nobody likes that, so you should probably invest in a power conditioner or two if it looks like your studio is becoming out of control.
These work by acting as a hub for wayward wires, unifying them into one. Think of them like domestic extension cords but for recording equipment wires, instead. They also regulate voltage, making them a safety essential when you’re working with a lot of electricity.
Audio Interface
With your computer and the software installed onto it, you have a digital audio workstation.
While that’s enough for making music digitally, you’re going to need a physical audio interface if you’re playing analog instruments.
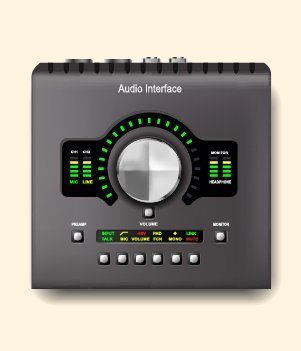
An audio interface is important as it allows analog instruments to communicate with the digital workstation you have on your computer.
This means that sounds recorded in-studio with physical instruments can be ported into the digital realm, where you can edit and mix them at the computer.
Interfaces have a number of input and output ports for this purpose, and they can support mic preamps, headphone amps, and other peripheral gadgetry you might want to use.
They’re perfect for home studios because they’re economical, combining the work of many professional devices into a simple hub that translates your sound into digital files, ensuring that anybody can play and edit their music.
VST Instruments
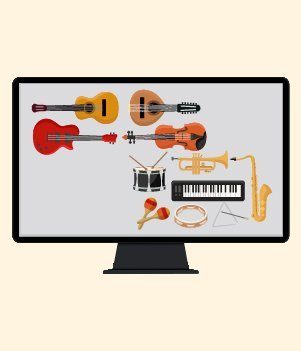
Your home studio doesn’t need to stop at the perimeter walls nowadays.
VST, or Virtual Studio Technology Instruments, are a host of software and software plug-ins that allow you to further tweak and edit music once it’s been recorded.
They’re great for creating music digitally too, but even analog musicians can benefit from these programs as they can make edits to your music that aren’t usually available.
They afford a lot of power to the hands of individual music creators too, since they allow you to download the sounds of acoustic, brass, and string instruments to have at your fingertips.
You don’t need a small army of musicians to play complex music anymore, as long as you learn how to play using a keyboard or a similar controller, which brings us to the next piece of equipment…
MIDI Controller
We mentioned a MIDI controller above but what are they?
MIDI stands for Musical Instrument Digital Interface which, when used to full effect, allows musicians to essentially recreate the sounds of so many analog instruments without needing to physically own them.
There’s no one standard design for a MIDI controller.
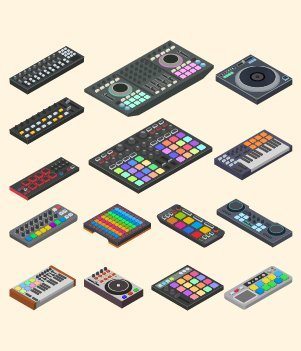
Most are press-based, sure, but you can get more outlandish designs that work by being blown on. A MIDI cable between your controller and the audio interface will record the sounds you play.
These aren’t necessary by any means. In fact, you can use a mouse and keyboard to achieve the same effects as long as you have the right VST instrument plug-ins.
If you plan to grow your home studio into a serious operation, however, and you like the idea of creating music in an efficient manner, then investing in a MIDI controller and learning how to use it might be best for you.
Other

So, what other things might you include in your home studio space that we haven’t covered so far?
Acoustic Diffuser
This is a more advanced form of sound dampening that is reserved for the most advanced studios, and so unlikely for home studios.
Still, in the off chance that you are looking into them, these diffusers are large panels that don’t absorb or trap the sound frequencies.
Instead, they take what should have been a straightforward bounce of the sound waves and jumble it, ensuring that they don’t make their way back to you.
Reflection Filters
While pop filters cover the mic and eliminate unpleasant mouth sounds, a reflection filter curves around the mic to protect it and ensure that the mic is getting your vocalizations and nothing else.
No other sound that may be bouncing around the room can reach the mic when you have a reflection filter on. If you require an acoustic diffuser because of the sound bouncing, you likely require a reflection filter too.
Monitor Isolation Pads
These become important if you have studio monitors on a flat surface. If instead of mounted on the wall, your monitors are on the floor, a table, or a shelf, then you want to get isolation pads.
Sound = vibration, so monitors move a lot when you’re cranking the music up. All that vibration will change the actual sound your monitors are trying to send you since the surface that they’re on will start resonating. Put an end to this with a thick isolation pad.
Studio Monitor Stands
Studio monitor stands are just a handy, adjustable means of deciding where your studio monitors are and which way they face.
If you’re trying to set monitors up but you don’t have any useful surfaces to put them on (with their isolation pads, of course) then you’ll benefit from investing in dedicated stands for them.
Studio Chairs
Though not a technical consideration, we’ve already mentioned how important comfort can be.
You’ll be spending a lot of time in this home studio if you plan on justifying its cost with frequent use, especially if you’re using it for a career. This means hours at the studio, which you don’t want to spend on your feet or in some other awkward position that can cause trouble.
The best studio chairs are ergonomic ones with wheels at the bottom, think the ones you see marketed towards gamers and other leisure activities where you spend hours at the computer.
Keeping Your Home Recording Studio Organized
Like with any workspace, it helps to keep the area free of clutter and other distracting messes that can detract from the creative process.
With such a wide array of devices and wires for those devices strewn about your home studio, many first-timers find themselves in desperate need of some organization. Here are some top tips to keep your home studio organized.
1. Tie And Label Cables
No, you won’t remember which cables are which by their texture and the very slightly different shades of grey and black they are.
Don’t kid yourself, and instead grab some Velcro straps and paper labels or electrical tape. Tying the cables together is easy and you may already be familiar if you have a wire-filled computer setup.
From there, label individual wires with what they are. An intuitive way of doing this is to color-code your devices with the cables they use with a set of multi-colored electrical tape. Otherwise, it’ll work to just attach labels that you can scribble on.
2. Don’t Stop With The Velcro
If you’ve got more Velcro lying around after that first step, spare some for the devices you keep around your desk. Use Velcro to secure a power brick at the back of your desk, or close enough nearby that you’re not left wanting for more fuse ports in the future.
3. Label Your Ports
Speaking of ports, all those electrical sockets can get confusing for beginners. If you get confused with them easily, you should use a small but enduring pen to write the accompanying gear and its voltage/amperage on each plug that you frequently use.
The larger your home studio, the more useful this advice will be, of course.
4. Stack Your Keyboards
Your home studio desk will be the most cluttered and claustrophobic part of the studio, in all likelihood. It’s not uncommon for studios to have a mouse and keyboard, a MIDI controller, along with a synthesizer machine or two, and that all makes for a confusing desk setup.
A keyboard stand, preferably a tiered one, allows you to stack your keyboards in terms of priority so that the ones you use the most are ready and close where you need them while the others are tucked neatly behind.
5. Treat It Like A Workplace
Not so much a quick tip as it is an outlook you should have towards the studio; you should treat it like it’s a workplace. What does this mean? Two things mainly, one, you don’t spend time in there if you’re not actively working on a project, and two, schedule a cleanup of the area when you can.
Conclusion: Let’s Make Some Sound!

With that, we come to the end of our complete guide to setting up a competent home studio. You should find almost everything that a beginner would want to know in the sections above and, if you’re in the process of building out your studio, check back and see if you’ve missed anything from time to time.
Just remember that it’s an iterative process that takes time. Your studio will grow in size and complexity along with your skills and ambitions as an audio technician, whether that’s from creating music, voice acting, or simply renting the space out for an alternative income stream.
As long as you nail the basics that have been outlined above, you’re free to explore additional and alternative means of expanding and improving your home studio when you can. It’s yours, after all, so you can do whatever you want to it in your own time, with no constraints.
Amazon and the Amazon logo are trademarks of Amazon.com, Inc, or its affiliates.
