As an Amazon Associate we earn from qualifying purchases.
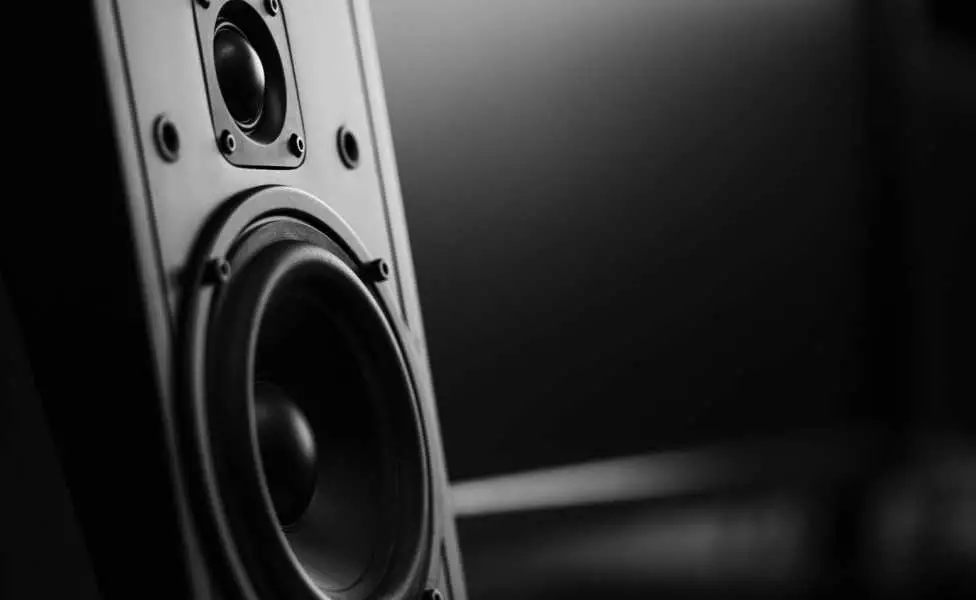
There is something about how you listen to music through your personal computers and while most laptops have their own built-in speakers, most personal computers don’t. This article is about how to connect studio monitors to your PC.
Connecting your studio monitors to your PC can save you a lot of time, effort, and money. Plus, the quality of the music is barely affected. The setup time and desk space are very minimal. Even if you are not familiar with technology, you’ll soon found out that connecting studio monitors to your personal computers is a piece of cake.
The only difference between connecting monitor speakers to that of connecting standalone speakers is the type of connection. If you choose to connect your personal computer to your monitor through a Display Port or HDMI, you would not need an audio connection. As compared to when you are trying to connect your personal computer to your monitor through VGA or DVI, a separate 3.5 mm audio cord is needed.
Table of Contents
Tips on How to Connect Studio Monitors To Your PC
Before you are fully able to enjoy your monitor speakers, you would need to figure out how to connect your studio monitors to your PC. It is not as hard as you think as long you follow the proper procedure in linking the necessary equipment together. In this article, we will be talking about the step by step procedure to do so.
Step 1
The very first step you is to connect your personal computer to your monitor. If both your monitor and personal computer allows it, you can have the option to use a Display Port cable or an HDMI. If your monitor and personal computer do not allow it, you can use VGA or DVI. It is highly recommended that you should try using the DVI first before experimenting with the VGA. The option to use the VGA should be your last option since this normally gives off a low-quality analog signal. The Display Port, HDMI, and DVI provide a signal which is of high-quality.
Step 2
If you choose to go with either VGA or DVI then you should have a 3.5 mm audio cord. You would need a 3.5 mm audio cord as well if you are unsure if your monitor can support the signal carried by either the Display Port or the HDMI. You should be able to tell since all of the ports you need should be properly labeled on both your personal computer and monitor.
Step 3
The third step would be to connect your monitor to the power source and turn it on. At this point, you should be able to turn your personal computer on as well. The signal of the video from your personal computer will now be displayed on your monitor. Sign in and then on your desktop, right-click. Choose “Screen Resolution.” You can now start adjusting the resolution of the monitor to the “Recommended” resolution.
Step 4
After adjusting the resolution of the monitor, proceed to right-click on the audio icon in the Windows taskbar on the system tray area and select “Playback Devices.” If you have successfully connected your monitor through the Display Port or the HDMI, you should be able to select the name of your monitor which can be seen on the list of devices. If you opt to go with the 3.5 mm audio port by using the VGA or DVI, you should click “Speakers.”
Step 5
Make sure to right-click on “Speakers” or the name of your monitor and select “Enable,” especially if they are greyed out on the list of the devices. Select the “Set Default” button to ensure that your monitor speakers are your personal computer’s default speakers.
Step 6
Now that you connected the studio monitors to your PC, you should be able to run a little quick test to ensure that everything is successfully connected. Select the “Configure” button and choose “Test”. It will probably prompt you to restart your personal computer. If it does, restart your personal computer and repeat to select the “Configure” button and choose “Test”. Once done, close the dialog box to complete the process.
There you have it. Following these six steps will allow you to complete the task at hand. Should it not work as expected, retrace your steps or repeat the process. Hopefully, this article was able to assist you well in successfully connecting your studio monitors to your PC.
Amazon and the Amazon logo are trademarks of Amazon.com, Inc, or its affiliates.